Beva Brewery
New North Vancouver Brewery
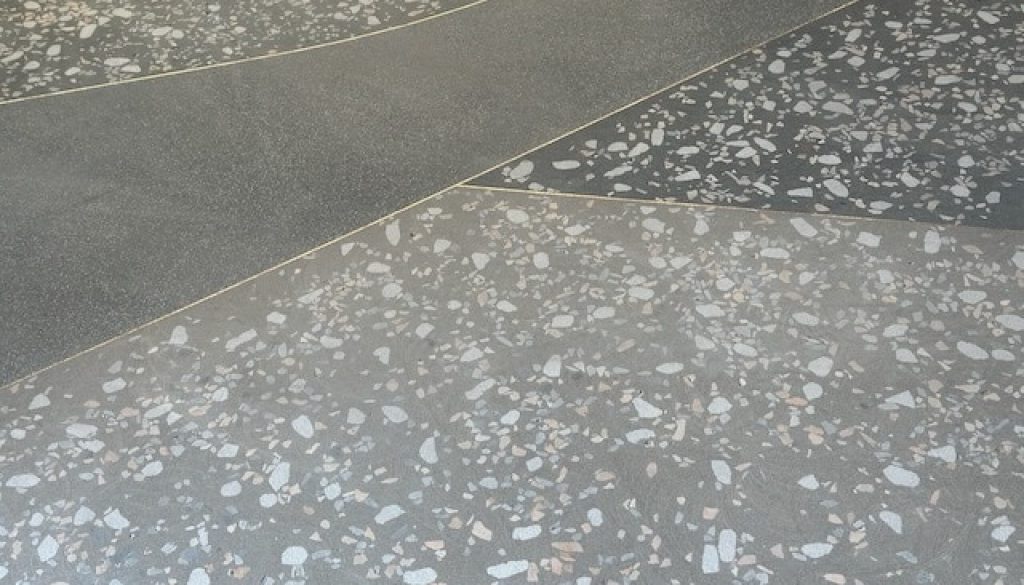
We have mostly finished the install of some very creative floors for a new North Vancouver brewery on Pemberton Street. The owners gave us creative control, which opened up a dream situation where we could play with techniques inspired by a recent Barcelona visit. The main field utilizes three different colours – a light grey, charcoal and jet black. Some panels have heavy terrazzo aggregates, others are more basic minimalist concrete. Brass divider strips were utilized to create division and visual interest.
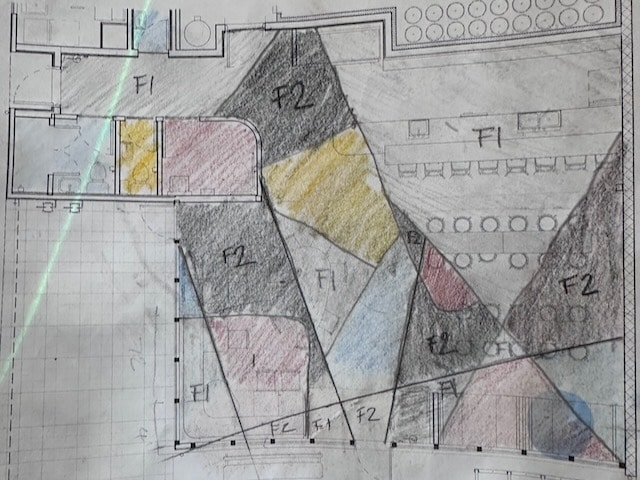
Design stage
The brass and zinc divider strips can delineate spaces and be both decorative and functional. Curves are easily achieved by using a L profile. It is always important to honour control joints.
Fastening the brass
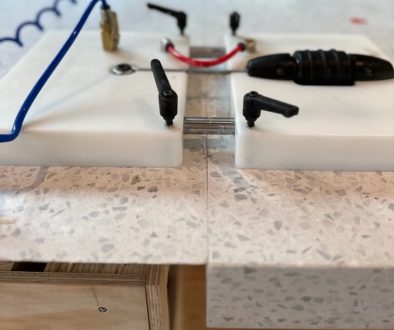
The brass dividers are generally attached with epoxy and backed up with boards to protect against deflection or damage during pouring. The brass is only has 3/16″ of machinable material before running into the aluminum standoff, so setting the height relative to finished floor finishes is key.
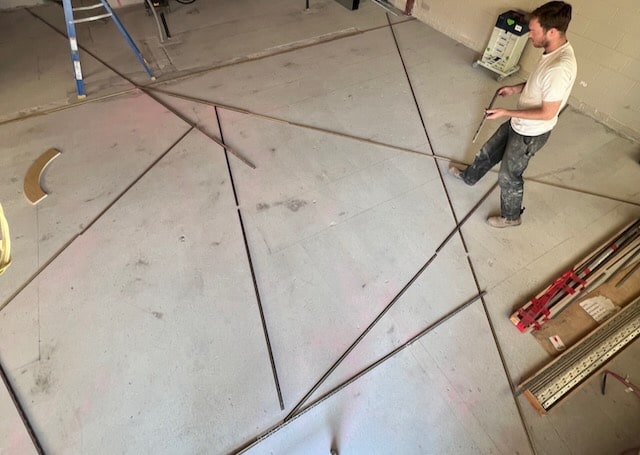
BACKING UP THE BRASS Form boards
Once the brass is layed out, each panel is backed up with form boards to make sure the divider strips stay in place while the terrazzo is being poured. This is not standard practice in the industry, but we have learned the hard way that one little bump means a wobbly line set in stone. The backing boards can also act as a guide for finished pour height.
POURING TERRAZZO
Once the jet black concrete was poured the venetian aggregate was cast into the panel. This is a more artistic and free flow method to create terrazzo. Vancouver Island white marble, red verona, yellow verona and blue grey venetian limestone were added to the jet black concrete.
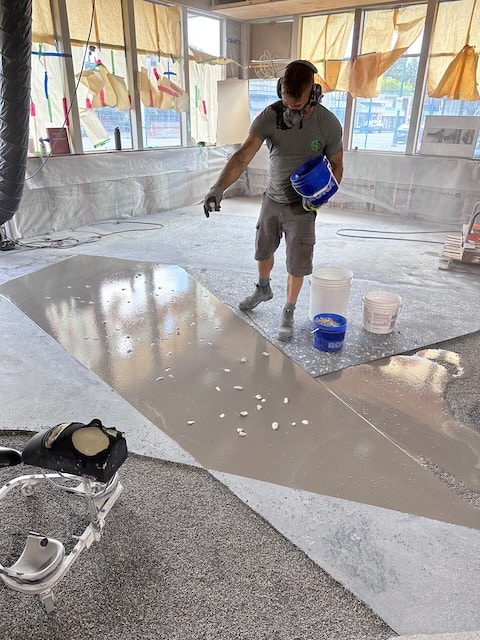
Close in the pours.
Once the first pours are complete, the form boards are removed and set up for the surrounding terrazzo panels. Multiple colours and terrazzo types can be poured in a day as panels typically set up within 3 hours, and can be walked on.
Grinding the terrazzo
Once the terrazzo pours are complete it is time for the serious work to happen. Each panel is individually ground until flush with the adjacent panel. Once the panels are flush the grinders can be run in straight lines and start the overall flattening process. Once brass is exposed it is usually time to switch to the next less aggressive diamond grit.
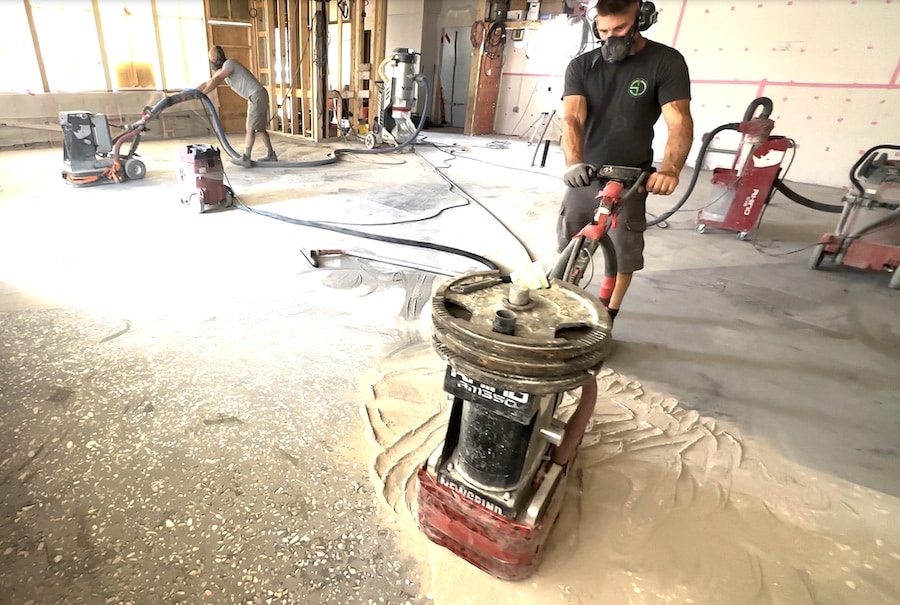
The literal grind
For this 1200 sq/ft floor, approximately 2000 kg of material is added during the pour process. 500 kg of dust is removed during the grinding process. Vacuums are our best friends.
SLURRYING THE TERRAZZO
During the grinding process the soft venetian limestone aggregate often shatters and creates holes that need to be filled. Large voids get a sanded patch and pin holes get a cementitious slurry mixture. Each coloured panel is masked to avoid overlap and gets its own matching patch mix.
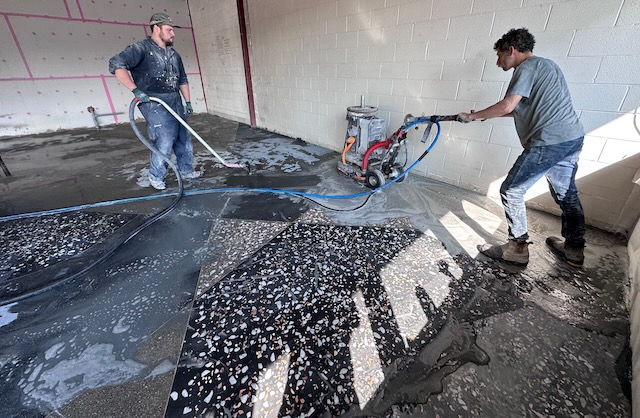
Terrazzo Polishing
The slurry is removed and the polishing process can begin. In this case we wanted a more semi gloss finish, therefore the floor was left at 200 grit. For this project we left it at 100 grit and will be coming back to do the final polish and sealer coat once the bar is installed. Look to come down and enjoy a beer and the beautiful space sometime in December.
Final 200 grit polish
After the floor has been densified, it is time for the final polish.

